Installing a new asphalt driveway involves several important steps that ensure the surface is strong, durable, and built to last. Whether you’re upgrading an old driveway or starting from scratch, the process requires proper planning, quality materials, and professional attention to detail. Each stage plays a key role in creating a smooth, long-lasting finish—from preparing the ground to laying the asphalt and completing the final touches.
Before any paving begins, the area must be evaluated for drainage, graded correctly, and stabilized to support the weight of vehicles. Once the foundation is set, the asphalt can be applied and compacted to create a clean, even surface. Together, these steps help protect your investment and give your property a polished, functional driveway you can rely on for years. Below is an overview of the essential steps involved in installing a new asphalt driveway.
Site Evaluation and Planning
Assess the project area, determine drainage needs, measure dimensions, and plan the driveway layout and slope requirements.
Excavation and Demolition
Remove the existing driveway surface (if applicable), excavate soil to the proper depth (typically 8-12 inches), and haul away debris.
Grading and Slope Creation
Grade the sub-base to create proper drainage slope, ensuring water flows away from buildings and doesn't pool on the surface.
Sub-Base Installation
Install and compact a sturdy foundation layer of crushed stone or gravel (usually 4-8 inches thick) to provide stability and support for the asphalt.
Proof Rolling
Drive heavy equipment over the compacted sub-base to identify any weak spots or areas that need additional compaction or stone.
Binder Layer Application
Apply the first layer of asphalt (binder layer), which consists of larger aggregate mixed with oil, providing a strong, durable foundation layer.
Surface Layer Installation
Apply the top layer of asphalt (surface course), made with smaller aggregate and designed to provide a smooth, attractive finish and weather resistance.
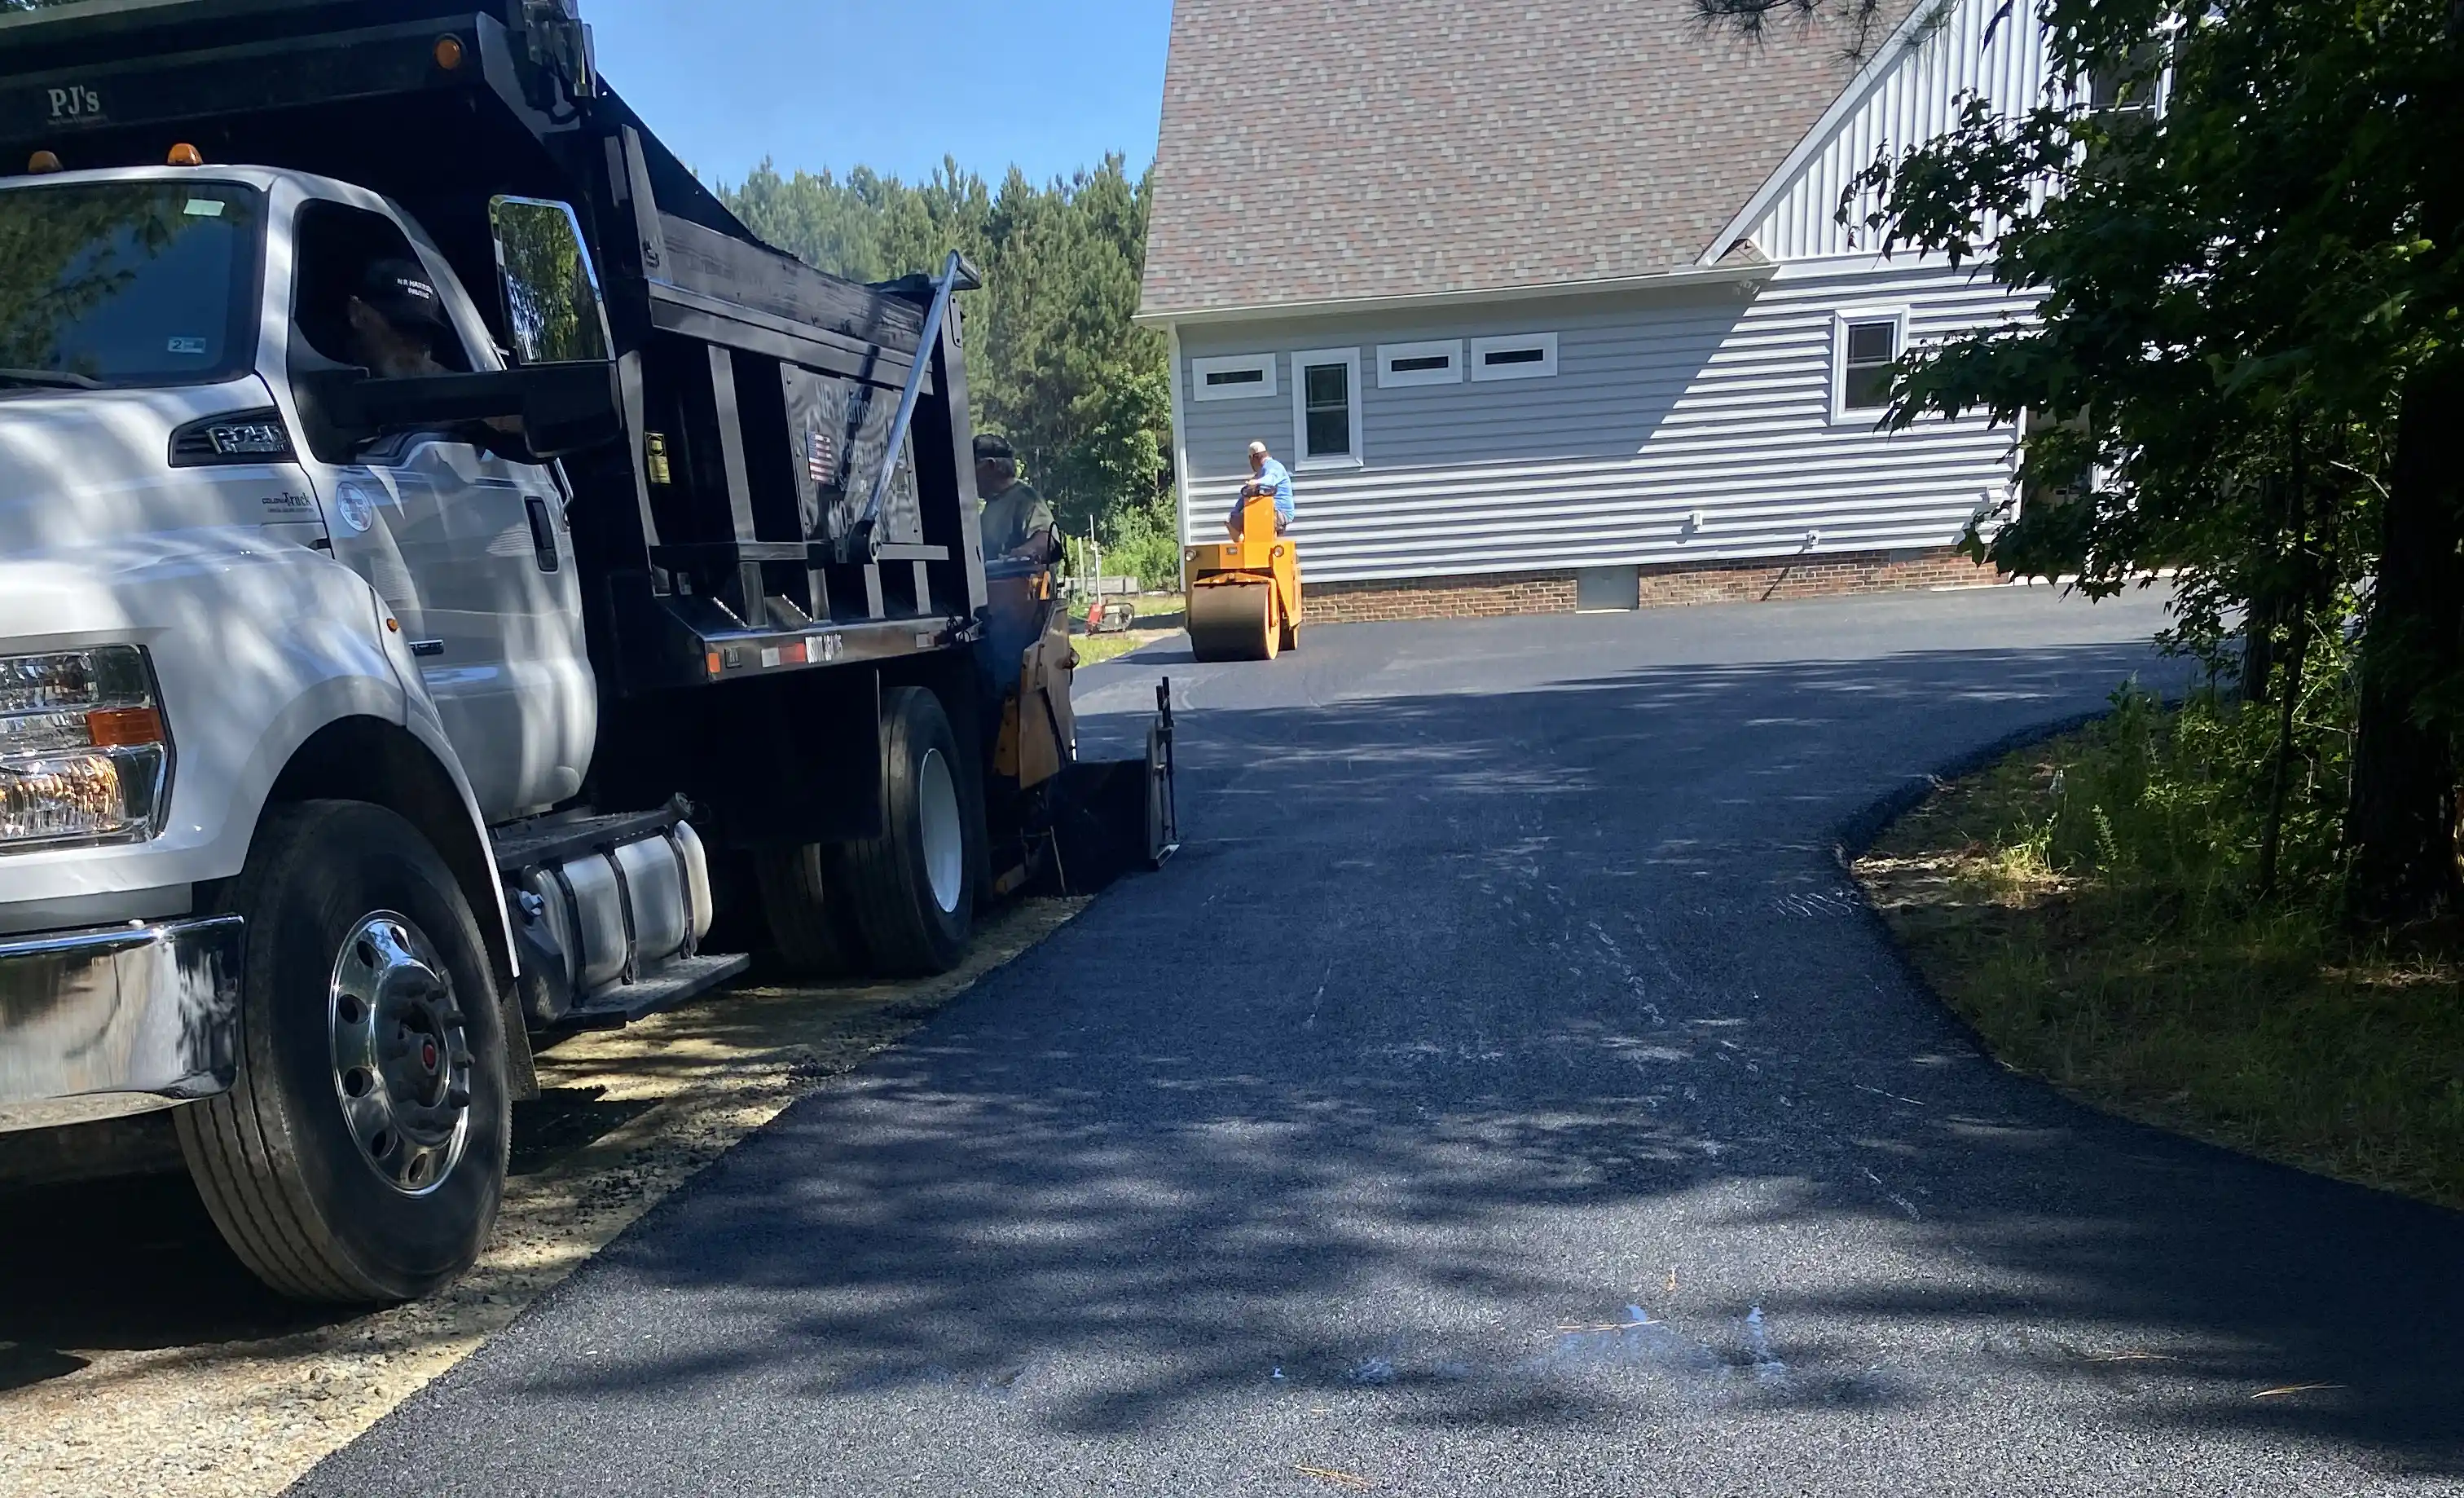
Compaction
Use heavy rollers to compact both asphalt layers while the material is still hot, ensuring proper density and eliminating air pockets.
Cooling and Curing
Allow the asphalt to cool and cure properly (typically 24-48 hours before light use, longer for heavy vehicles).
Final Touches
Install edging if needed, connect to existing surfaces, and provide maintenance guidelines to the property owner.
The entire process typically takes 2-5 days depending on weather conditions, project size, and complexity.